> For the complete documentation index, see [llms.txt](https://docs.drawtify.com/llms.txt). Markdown versions of documentation pages are available by appending `.md` to page URLs; this page is available as [Markdown](https://docs.drawtify.com/easier-graphics-solution/how-does-it-work/how-to-add-shapes-and-shape-effects.md).
# 5. How to add shapes and shape effects?
## Intelligent shape drawing and rich special effects
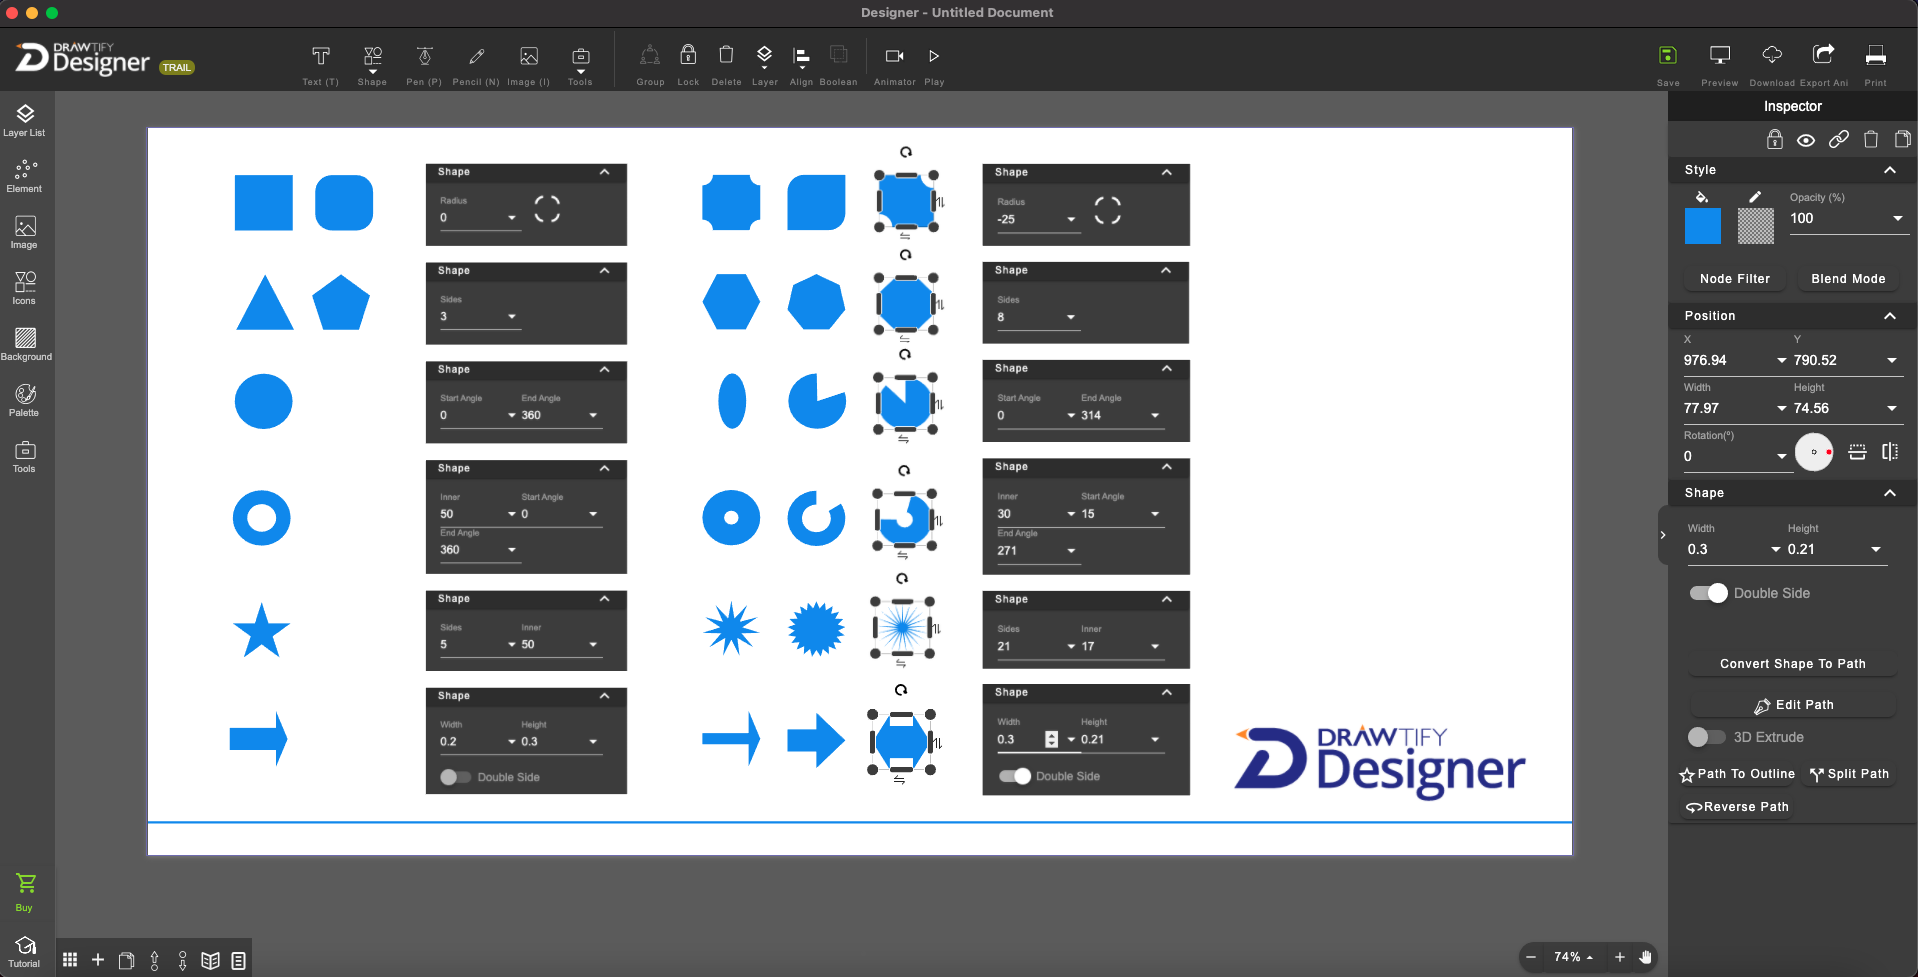
Click "Shape"  to draw and edit the shape. In Drawtify Designer, 9 basic shapes are built-in.
### 5-1. Smart Shape Drawing:
On this basis, you can perform smart shape editing in the "shape inspector".
Of course, you can also select the desired shape in the
to draw and edit the shape. In Drawtify Designer, 9 basic shapes are built-in.
### 5-1. Smart Shape Drawing:
On this basis, you can perform smart shape editing in the "shape inspector".
Of course, you can also select the desired shape in the  "icon" library, use it directly, or modify it.
### 5-2. Shape color fill:
"icon" library, use it directly, or modify it.
### 5-2. Shape color fill:

 You can fill shape and stroke. Including: monochrome filling, gradient color filling, and image filling (the specific operation is the same as that of background color filling). Of course, you can also set the
  transparency and set the size of the outline.
### 5-3. Shape To Path:
Click
transparency and set the size of the outline.
### 5-3. Shape To Path:
Click  "Edit Path" or double-click the shape to edit and
  modify. And end by right-clicking.
Click
modify. And end by right-clicking.
Click  "Path to Outline" to quickly obtain the
 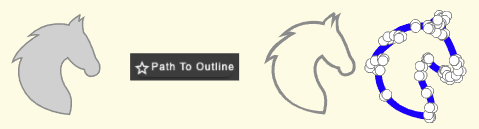 outline of the shape and support re-editing.
Click
outline of the shape and support re-editing.
Click  "Split Path" to break the complex shape into multiple separate paths
  for easier and accurate editing.
For multiple shapes, you can click the
for easier and accurate editing.
For multiple shapes, you can click the  "Boolean" operation in the toolbar, and through
 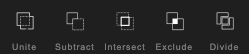 5 different superposition combinations, you can get a brand new shape, and then you can edit it again.
Of course, you can also open
5 different superposition combinations, you can get a brand new shape, and then you can edit it again.
Of course, you can also open  "3D Extrude"
  , adjust the value, and add 3D effects to the shape.
### 5-4. Add special effects to shapes:
Click
, adjust the value, and add 3D effects to the shape.
### 5-4. Add special effects to shapes:
Click  "Node Filter" to add special effects to the shape, and use "Filter Template"
 to easily obtain filter effects with one click.
Click
to easily obtain filter effects with one click.
Click  "Blend Mode"
  to add a montage effect to the shape.